

Do you want to harness solar power for your home? If so, installing solar panels is an excellent way to do so. Solar installation is becoming increasingly popular due to its cost-efficiency and low environmental impact.
This tutorial will guide you through the process of installing solar panels at home.
We will explain the components required, the tools needed, the process of installation, and the maintenance involved. Having your own solar energy system offers many advantages. With some knowledge and guidance, you can enjoy these benefits.
Why Build Your Own Solar Power System at Home
The benefits of building your own solar power system at home are numerous. For one, it allows you to take control of your energy consumption and reduce your carbon footprint. Additionally, installing a DIY system is cost-effective and can significantly lower your energy bills.
Another advantage is the flexibility in designing your solar array. You can customize the solar panel type, battery capacity, power electronics and accessories to fit your energy needs. Furthermore, you can opt for solar generators that offer mobility and backup power during emergencies.
Constructing a solar power system at home is a long-term solution for energy needs. It provides financial savings and environmental benefits. However, if you wish to work with a professional installer, altE can help.
Understanding the Basics of Solar Energy
It is important to have a basic understanding of how solar energy works before building a solar power system at home. For further guidance do watch introduction to solar panels. Doing so will help ensure success when creating the system. Solar energy is the process of harnessing energy from the sun’s rays and converting it into usable electricity.
Solar cells, which convert sunlight into direct current (DC) electricity, are used in the composition of solar panels. The DC electricity is subsequently directed to a solar battery, where it is stored for future utilization. The stored electricity can be employed to power homes, businesses, and even vehicles.
When planning your solar power system, it’s important to consider your power consumption. This will help you determine the size and number of solar panels you’ll need for your system.
It’s also important to understand that solar systems are dependent on sunlight. The electricity your solar panels generate depends on the weather and time of day. This varies the amount of electricity your solar panels can produce. This is why it’s important to have a solar battery to store excess electricity for later use.
Overall, understanding the basics of solar energy is crucial to building a successful solar power system at home. Understanding solar panels and batteries helps create an efficient system.
You can tailor this system to meet your energy needs while ensuring it remains cost-effective and eco-friendly.
Building a Solar Power System at Home
You now have a basic understanding of solar energy. You have also determined the size of your system. It is time to build your own solar power system at home. Detailed installation instructions are found in the installation manual for the products you select, and tons more information is available in our resources library, but here’s a step-by-step outline to get you started:
1. Gather Your Materials
The first step is to gather all the necessary materials. This includes solar panels, an inverter, a charge controller if using batteries, batteries (optional for on grid solar), wiring, and mounting hardware. Make sure to purchase materials that are compatible with each other and the size of your system.
We offer a wide range of solar power system kits that are already sized for any need, making it easy for you to find the perfect fit.
2. Install the Charge Controller and Inverter
Start by installing the charge controller and inverter. The charge controller regulates the electricity flowing in and out of your battery bank. The inverter converts the DC power from your solar panels and battery into AC power for use in your home.
3. Mount Your Solar Panels
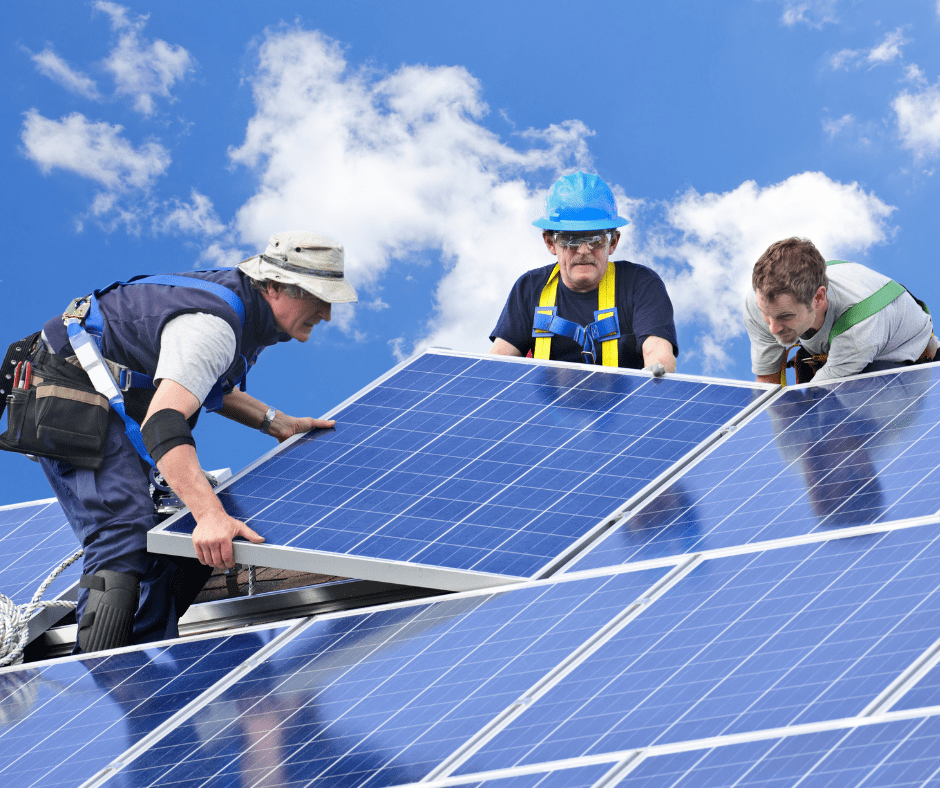
Next, you’ll need to mount your solar panels on the roof or in a sunny location in your yard. Follow the manual instructions closely. Securely mount the panels to protect them from strong winds and storms. This will help prevent damage or loss.
Connect the solar panels to the charge controller, then connect the charge controller to the battery bank. Make sure to use properly sized wire, disconnects and overcurrent protection. Finally, connect the inverter to the battery bank and the main electrical panel. Using high-quality wiring rated for solar energy use is important
5. Connect to the Grid
You need a grid-tied solar power system to be able to sell excess electricity back to the grid. To connect to the grid, you’ll need to obtain approval from your local utility company and follow their guidelines for setup and may require a professional to make electrical connections. While off-grid systems that are electrically isolated from the utility grid do not require a utility interconnection permission agreement, it is important not to throw caution to the wind. Always obtain proper permits and follow the rules of the local authority having jurisdiction in your area to ensure you have a safe system.
6. Test Your System
Once you wire and connect everything, it’s time for you to test your system. Turn on your solar power system and check to make sure everything is working correctly. It’s a good idea to have a professional electrician do the wiring or check your work to ensure that everything is up to code.
7. Maintenance and Troubleshooting
Maintaining your solar power system is essential to keeping it functioning correctly. Clean your solar panels regularly and check for any signs of damage or wear. If you encounter any problems with your system, act quickly. This will help prevent more serious damage or potential safety hazards.
Planning and Sizing Your Solar Power System
Before you start installing solar panels, you need to determine the size and power output of your solar power system. This will depend on how much electricity you want to generate, your energy consumption habits, and your budget. Here’s how to plan and size your solar power system:
First, determine what kind of renewable energy system is right for you.
An off-grid solar system is what its name suggests – a solar energy system that provides freedom from the utility grid. Because this type of solar system has no connection to the grid, you must equip it with the necessary components to generate and store all the electricity you need to power your home.
A grid-tied solar system is a solar energy setup that maintains a connection to the electricity grid. These systems generate electricity from the sun, but rather than storing excess energy in batteries for backup power, they export it to the larger utility grid. If the home or business requires more power than what the solar panels can provide, you import the power from the utility grid.
A hybrid solar energy system offers the best of both worlds, allowing for both grid-tied solar and battery backup. If you already have a solar system, or can’t install solar, you can look into energy storage systems that don’t include solar.
Calculate your electricity consumption. Start by assessing how much electricity you use on a daily, weekly, and monthly basis. You can look at your energy bills or use an energy calculator to determine your energy consumption.
Determine your peak power needs. Identify the time of day when you use the most electricity. Calculate the total wattage of your appliances, devices, and lighting. This will help you determine the maximum power output of your solar power system. With a grid tie system without batteries, this is not as important, since you will be using the grid for peaks, but for off grid and grid tie with battery back systems you’ll want to ensure you have sufficient peak power.
To choose the right size of solar panel, you must first determine your electricity consumption and peak power needs. With that information, you can calculate the required number and size of solar panels you need.
Think about battery storage. To save solar energy for the future, you must include battery storage in your solar power system. This will increase the cost and complexity of your system, but it can provide more energy independence and resilience.
It is wise to seek professional advice if you are unsure about the technical aspects of solar power systems. The team at altE is ready to assist you with your project.
Installing and Mounting Solar Panels
After you plan and size your solar power system, it’s time for you to install and mount the solar panels. This step is crucial as the success of your solar power system depends on how you place and orient the solar panels.
Before mounting the solar panels, you will need to decide on the type of mount. There are three common types of mounts: you have roof mounts, ground mounts, and pole mounts.
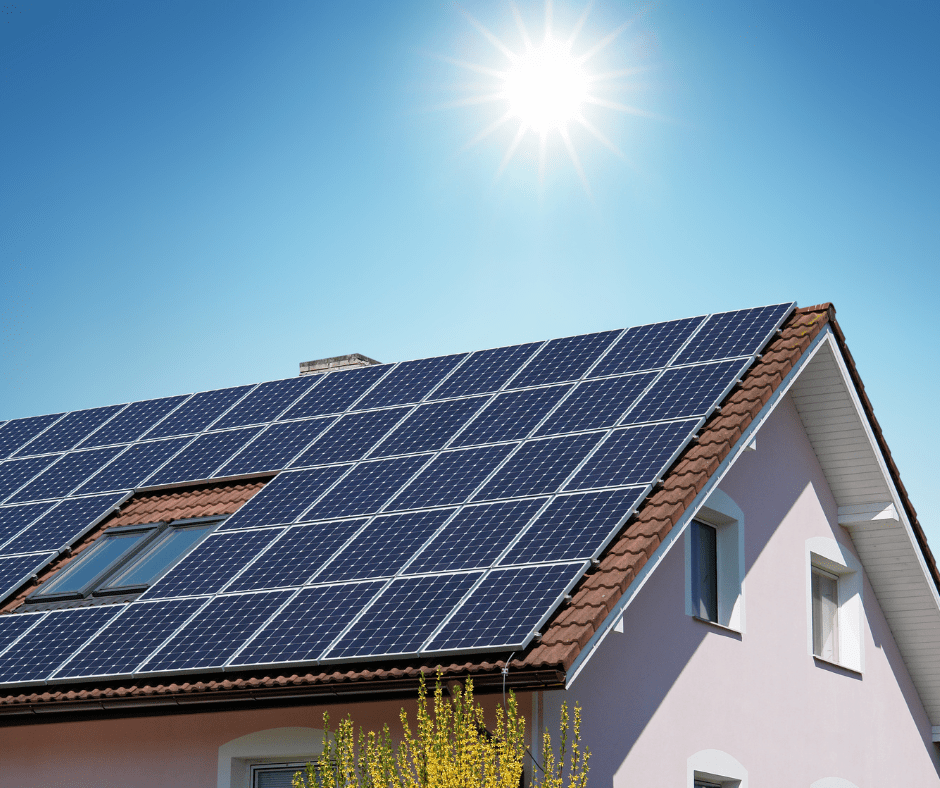
Roof mounts are the most common and easiest to install, as they attach directly to the roof of your house.
Ground mounts are more complex and require a bit more space.
Pole mounts are ideal for small spaces or areas with uneven terrain.
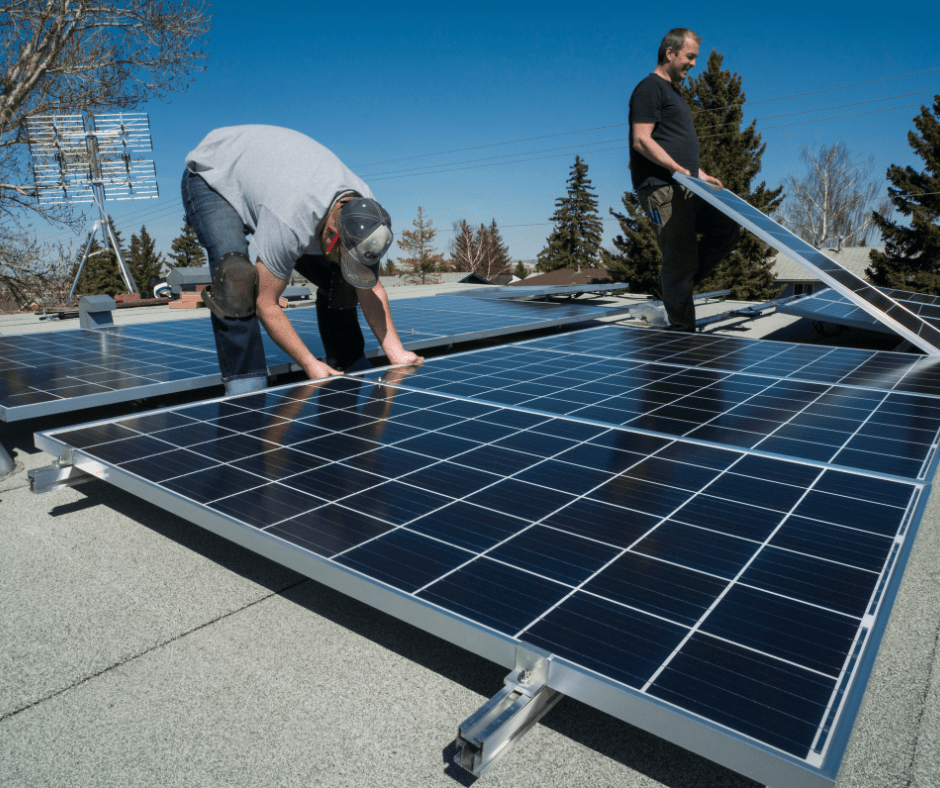
Once you have chosen the mount type, you can start installing the solar panels. First, make sure that the area where the solar panels will be mounted is clean and free of debris. Next, follow the specific instruction manual for the mounting system and solar panels you have selected.
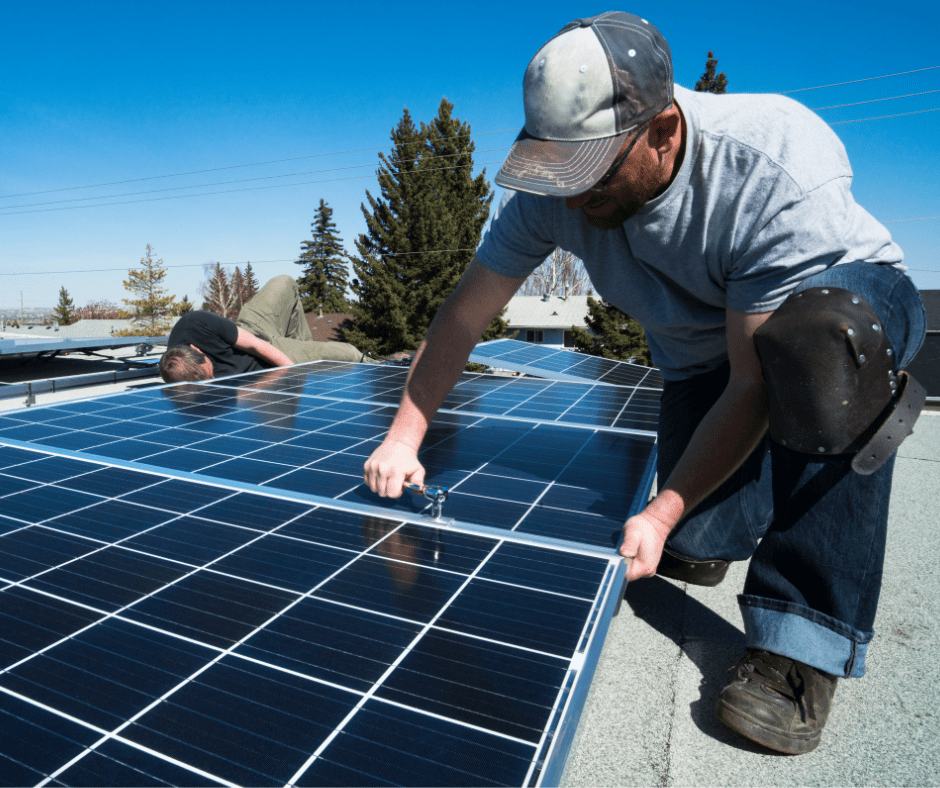
After the mount is secured in place, it’s time to attach the solar panels. Depending on the type of mount, this can be done by using bolts, clamps, or screws. The installation process may vary depending on the type of solar panel, but most often this is done using an appropriately sized clamp.
When attaching the solar panels, it’s important to ensure that they are angled towards the sun. Ideally, solar panels should face south in the northern hemisphere, and north in the southern hemisphere. Additionally, the solar panels should be tilted appropriately based on your production goals.
Finally, make sure to properly ground the solar panels and check for any loose connections. Once installation is finished, it is essential to conduct a final inspection to check they are functioning properly.
Follow these steps and guidelines to install and mount your own solar panels. This will reduce your energy bills and help the environment.
Wiring Your Solar Power System
The solar panels must be mounted on your roof or in your backyard and then the panels wired together. Most solar panels today have locking connectors that make installation easy and safe.
It is important to read the instruction manuals of all your equipment thoroughly. If you require assistance, do not hesitate to call a professional to assist in your project.
1. Connect the Solar Panels in Series or Parallel
When wiring your solar panels, you have two basic options: you can connect them in series or in parallel. Series connection means connecting the positive output of one panel to the negative output of the next, while parallel connection are made in a combiner box or other type of DC bus. Repeat this process until all panels are connected as specified in your system design plan.
2. Add a Charge Controller
A charge controller is an essential component of any solar power system with batteries. This technology helps regulate the energy flow from the solar panels to the battery bank. It prevents overcharging and prolongs the battery life.
To install a charge controller, simply connect the positive and negative leads from your solar panels to the corresponding input terminals on the charge controller, ensuring that you have sufficient overcurrent protection and means of disconnect. When in doubt, consult the manual for the products.
Then connect the positive and negative leads from your battery bank to the corresponding output terminals, again, ensuring you have sufficient wire size and safety protections.
3. Connect Your Inverter
The inverter is a device that converts DC power generated by solar panels into AC power. This AC power is used by home appliances.
Connect the positive and negative leads from your battery bank to the input terminals on the inverter. Then, connect the AC output from the inverter to the main electrical panel or AC load center.
It is critical to make sure you follow the inverter and battery installation manual exactly and reach out to a professional for assistance if needed.
4. Check Your Connections
Before powering on your solar system, double-check all connections to ensure everything is secure and tight. Loose connections can cause dangerous arcing and could damage your equipment.
Once you have checked all connections are correct, you can activate your solar power system. You can then start to benefit from free, renewable energy!
Connecting Your Solar Power System to the Grid
Now that you have your solar panels installed and your system wired, it’s time to connect it to the grid, unless of course you’re installing an off grid system.
Find in-depth details of grid-connected renewable energy systems from the US DOE.
Net metering is a program that many utility companies offer to customers with solar power systems. Under this program, any excess electricity generated by your system can be fed back into the grid. You receive credits on your utility bill in return. These credits can offset the cost of electricity from the grid.
To know the procedure to gain net metering credits visit your local utilities website or the dsireusa.org database.
To connect your solar power system to the grid, you’ll need to follow a few steps:
1. Apply for connectivity: Contact your local utility company, or search online for the utility interconnection application process in your area. The utility will review your application and provide you with a list of requirements and fees for connecting to the grid.
2. Install a meter: Once you’ve been approved for the grid, you’ll may need to install a bi-directional meter or second production meter. This meter measures electricity use from the grid and solar production going out to the grid as excess electricity that your system feeds back.
3. Hired a licensed Electrician. In many cases you will need a licensed electrician to wire some or all of your grid connected system. This will ensure your system meets all safety and code requirements. An electrician can help you with the connection process. They will help you install a disconnect switch, a breaker, and other safety features.
4. Determine what local permits are needed and what authorities have jurisdiction in your area- this may include a building department, electrical inspector, fire inspector or other government agencies. Every town, city, county, state and country has it’s own rules and regulations. It is the responsibility of the solar installer (you in a DIY system, or a professional contractor if hired) to ensure the products being sourced and the system being installed meet local code requirements.
Once your solar power system is connected to the grid, you can begin to reap the rewards of net metering. This will help reduce your dependence on fossil fuels. Proper maintenance and monitoring can extend the lifespan of your solar power system. This can provide you with significant savings on your utility bill.
Maintenance and Troubleshooting
Once your solar power system is working, regular maintenance is essential. This will help it keep running smoothly. Here are a few tips for keeping your solar power system in top shape:
1. Keep your solar panels clean. Over time, dust, dirt, and other debris can build up on your solar panels and reduce their efficiency. These should be regularly cleaned with a soft cloth or sponge and water.
2. Monitor your energy production. Keep track of how much energy your solar power system is producing each day. If you notice a sudden drop in production, it could be a sign of a problem that needs to be addressed.
3. Conduct thorough examination of the inverters. It converts DC power generated by solar panels into AC power. Check it regularly to ensure that it’s functioning properly.
4. Consider potential power outages. Invest in a battery backup system if you live in an area with frequent power outages or is at risk of natural disaster. A grid tie system without batteries will not provide power during grid outages, so think ahead.
5. Address any issues promptly. If you notice any issues with your solar power system, act quickly. This could be a drop in energy production or an error message on your inverter. Addressing the issue promptly will prevent further damage.
6. If batteries are present in your system, the awareness of energy usage is necessary when not grid connected – without grid power, limits are imposed on your system. In the same way you don’t want your well to run dry, you don’t want your batteries to drain completely. Adjust your usage based on the battery state of charge and proximity to next anticipated charge.
Follow these tips to ensure your solar power system produces clean, renewable energy for years. This will help you get the most out of your system.